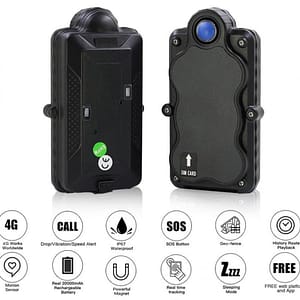
There are two types of vehicle tracking devices offered by Smart Trackers NZ, portable and hard-wired.How to set up car GPS Trackers involves the following:
A portable Car GPS tracker takes no special skills to install; you can position it anywhere in the vehicle and move it to any position on the vehicle. Placing one near the base of the windscreen allows clear access for the incoming GPS signal and the outgoing Wi-Fi signal it uses to triangulate your car’s location.
However, depending on your reasons for using a GPS tracker, you might not want it to be in permanent view. Portable tracker batteries need changing every few months, so wherever the tracker is located, it should be accessible. If discretion is a priority, a hard wired GPS tracker is the way to go.
‘Hard-wiring’ sounds scary, but all it really means is connecting your GPS tracker to your car’s power supply so that it works without its own battery. That said, it is slightly more complicated than installing a cigarette lighter.
It is recommended the fitting of the wired tracking devices done by a vehicle electronics expert especially if you are looking to hide your tracker or have multiple trackers fitted in a fleet of vehicles.
1. Access the Ignition and Power Wires Under the Dashboard
Start by unscrewing the plastic lower dashboard cover with the Phillips head. If there are wires plugged into the casing itself, disconnect these and place the casing and screws to one side.
Inside the lower dash, you’ll see several wires. The two you are looking for are the ignition wire and the constant power wire. They both connect to the car ignition switch; so to find them, simply follow the wires down from the ignition switch. Use the voltage meter to verify that you have identified them correctly – you should receive a reading of between 11 and 14 volts when the ignition is turned on, and a reading of 0 when it is off.
Tip: Some cars include special wiring diagrams to help you find the correct wires. Consult your car’s documentation for further guidance.
2. Hard Wiring Your Device
Use the wire cutters to remove a small section of insulation from the constant power wire.
Tip: Be careful to use the right gauge wire cutters to prevent the power wire from being cut. Or else say goodbye to your dashboard stereo!
Use the pick tool to create a small gap between the exposed copper wires. Take the exposed end of the red wire on your GPS tracking device and thread it through the newly-created gap in the constant power wire. Wrap any loose copper wire ends together and cover the connection with a piece of electrical tape.
Repeat Step 2 for the white wire on the GPS tracking device, using the ‘poke and wrap’ method to connect it to the ignition wire.
Tip: Wrap the exposed wires together thoroughly for an optimal connection.
Finally, add a ring terminal to the exposed end of the black wire on the GPS tracker. Place the ring terminal end on a metal surface (‘grounding’ the device), such as the steering column, and secure it there with electrical tape.
3. Reassemble the Dash
Affix the GPS tracker underneath the dash with double-sided tape.
Tip: GPS signals do not travel through metal, so don’t place it on the steering column! Near or around the ignition coil is usually a sensible location.
Be sure to fix the device securely in place – you won’t easily be able to access it if it comes lose mid-journey!
Tip: For the best results, make sure the GPS tracking module is facing upwards when you attach it.
Tidy up any loose wires with electrical tape, tuck them out of the way, and reattach the plastic dash cover.
Below are our selection of Car GPS Trackers
-
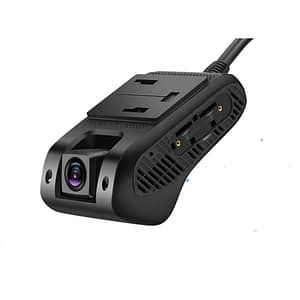
Car GPS Dash Cam JC400PPrice range: $775.78 through $860.60
-
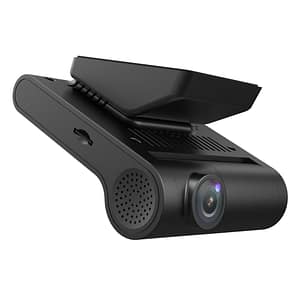
Product on saleDriver Fatigue Detection GPS TrackerOriginal price was: $611.80.$344.02Current price is: $344.02.
-
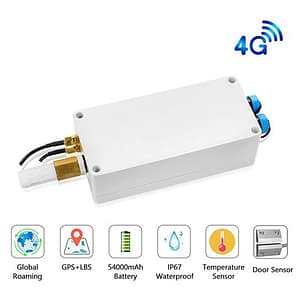
Product on saleAsset Tracking GPS LocaterOriginal price was: $325.91.$293.55Current price is: $293.55.
-
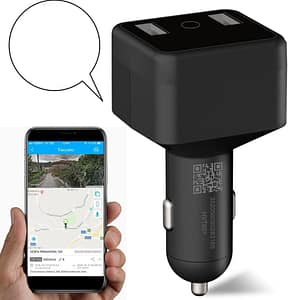
Product on saleCar GPS Ciggarette LighterOriginal price was: $295.33.$206.00Current price is: $206.00.
-
Car GPS Tracker AWG-TK05C$268.81
